Thursday, December 22, 2011

A month of Christmas

I am truly looking forward to Christmas this year, the first time in quite long time. I decided to get in as much Christmas as I could to keep this feeling alive. To kick if off I started with the tree lighting at the Botanical Gardens. Its starts with Caroling performed by the Westchester Men's Choral Group.


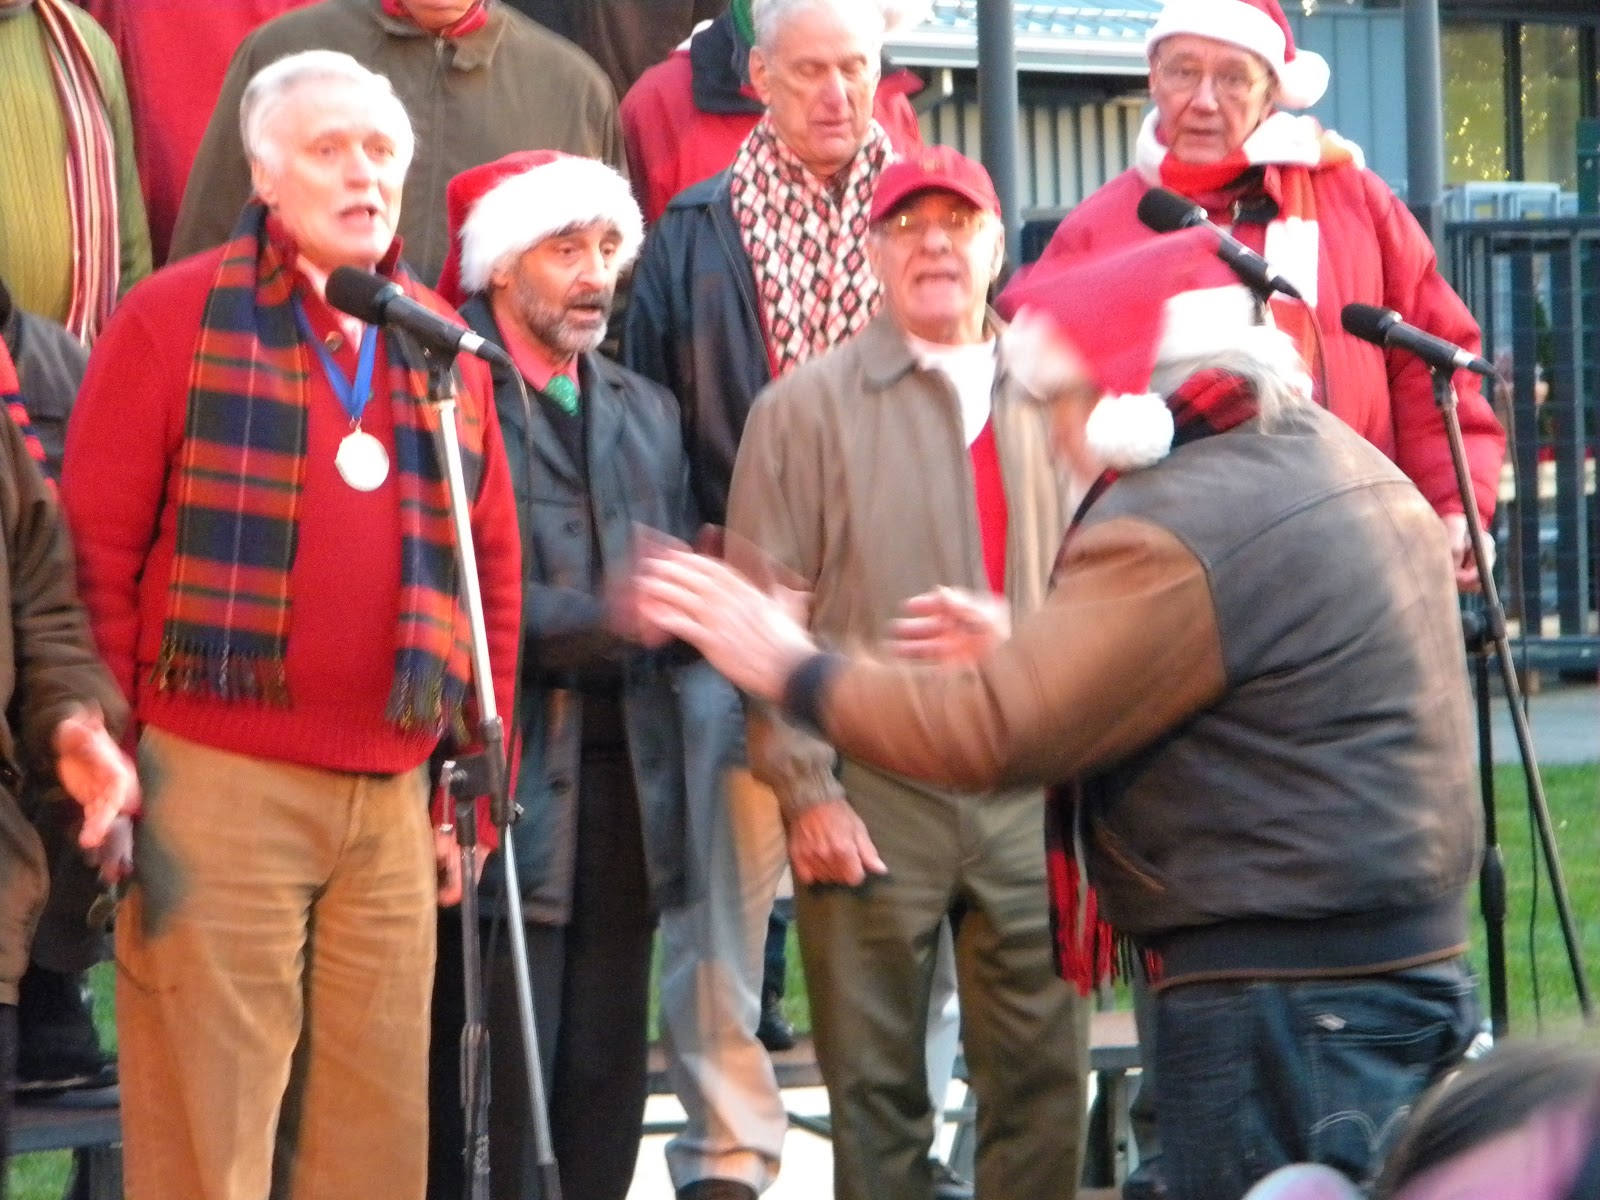
They were fantastic. They sang for about 2 hours singing all the Christmas favorites. When they sang Jingle Bells they brought up Kids for the audience to join them. It was precious to see the kids faces just light up.

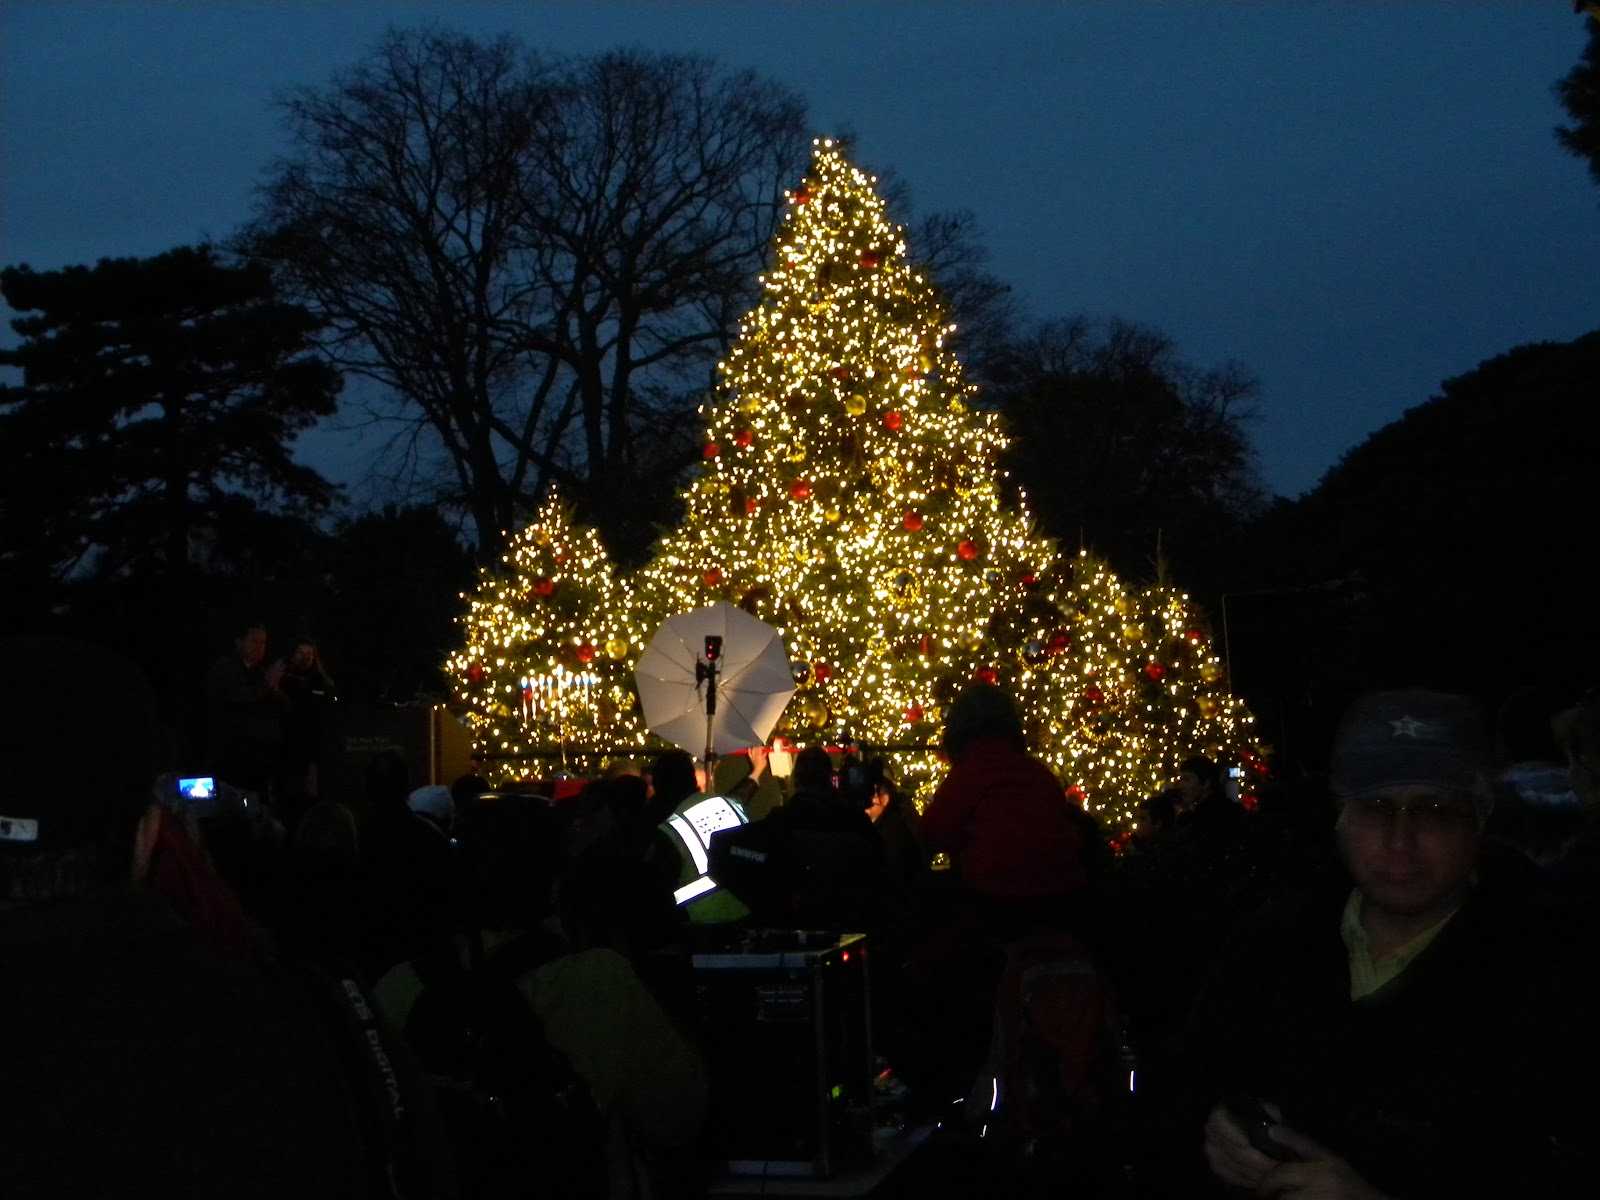
And the tree was beautiful of course. When the it darker the tree just shined.


I went to see a friend of my Aunt perform at the Don't tell Mama club in the city. She had such a wonderful voice. No the show wasn't Christmasy but it was an outing and having tons of fun.

I held my annual Gingerbread House Decorating party. Everyone made such wonderful creations.


Then I went to the Train show at the Botanical Gardens. I go almost every year but this year I decided to so one of their special viewings. It was called a Bar Car night. It is held in the evening and you get a complimentary drink. Its fun to go to the special viewings, they are less crowded and its more relaxed. The special drink was variation on a screwdriver topped off with Pop Rocks candy. I felt like a kid again listening to the candy popping on my drink.  Can you believe all of these replicas are made from twigs, barks, leaves, and seeds.


And yes that is Yankee stadium.

Here is one of the trains that were running around the displays


And to top it all off I've been watching just about every Christmas show they were airing on T.V. and listening to Christmas music everyday. Yep I had the Christmas spirit all month long. It's been fun.

Have a great Holiday and a Happy New Year!!!


It's awesome you stopped by!!....Thanks
XOXO

Esther

Sunday, December 11, 2011

Thanksgiving card

For this Thanksgiving I made these cards to send out.


It was fun to come up with the design and gather up all the supplies for making the cards.


For the first card I  used a mustard card stock for the base. I layer brown and a sage colored card stock to the front of the card. I took a tag using mustard, brown and green stamping ink.


I aged the tag and stamped leaves along the side. I adhered a piece from the apple cook book that I distressed. Stamped Thanks and wrapped sisal. I adhered the Turkey to the tag and placed it to the front of the card.


For the second card I used sage colored card stock for the base layered mustard colored card stock with a piece cut out from the Apple cook book. On top of that I placed mulberry paper and a torn pieced of corrugated cardboard which I tied a piece of sisal cord. I adhered a pumpkin in the corner.


Hope you enjoyed seeing them.

It's awesome you stopped by....Thanks!!
XOXO
Esther

Saturday, November 19, 2011

An Autumn Display

For my Fall display I started by moving all the plants out of this wheel barrow. They still had so much life left in them that they could still brighten up a corner of the yard.


I put in some mums and ornamental kale. Placed some gourds around for the fall look.


I also put in some mums and ornamental kale by the fence with some bigger pumkins just love the look.


If you look at the top of the photo you can see the plants I moved from the wheel barrow.

Happy Fall!!!

It's awesome you stopped by!!!....Thanks
XOXO
Esther

Tuesday, November 15, 2011

Kitchen Redo

When i first moved into my house we just threw some white paint up thinking we would come back to the kitchen later and repaint to a color we liked better. That was over 8 years ago. Time sure does fly. It was definitly time for a repaint

This past summer I had bought paint and all the supplies to paint the kitchen but as it happens plans don't always work out the way you had thought. I never got around to painting the kitchen over the summer. Now it's October and my Father's up coming visit finally spured me into finally getting the kitchen painted.  The colors I choose was orange for the walls and a grey for the cabinets. Once I started painting I realized the undertones of the orange were not exactly what I was looking for. They seemed very pinkish to me durning the day. At night, when this picture was taken, I'm fine with the color.


In order to bring out more of the brown in the orange I stained the wall unit and the shelves I put up a dark brown.   I distressed the edges giving it a really nice worn look. Anyone who knows me knows I really don't like dark wood but I fell in love with the way they turned out.  It really didn't help the orange and the jury is still out on the color. My Aunt and sister suggested doing a glaze over the top. I'm considering it.


Remember these corbels I bought at the Brimfield Antique Market here goes a set holding up one of the shelves I put up. More will follow they need to be prepped.


Here is a look when everything was put in place.


Here are things I learned while doing my Kitchen. Look at tons of pictures that inspire you and  create a mood board to keep you on track for the look you are after. Something I didn't do and therefore didn't quite get the look I wanted. I was after a tuscan farmhouse look.

Here are a couple of pictures of what I was looking for and being honest with myself the only thing that was on track is the shelves and bookcase.


Can you feel a kitchen redo in the making. And yes a mood board will be done before I even hit the stores to buy paint again LOL


It's awesome you stopped by!!!....Thanks
XOXO
Esther

Saturday, November 12, 2011

Waiting for the paint to dry

The last couple of projects I have been working on, like my kitchen


this piece of art work


the Halloween cards


I have been faced with waiting for paint/ink/glue to dry. This has been a source of major frustration for me. I start a project thinking it  will only take one week, as in the kitchen, and it ends up being two weeks. Or a couple of hours, as in the painting, and it takes a couple of days. All because I'm waiting for the paint to dry.

As I sat and pondered why all these projects kept coming up with the same issue. Here is what I found out to be true for me. Waiting for the paint to dry is about stepping back, giving myself time to think and examine. To allow for questions to raise up from my soul as in...  Is this really the color, image, placement that I'm looking for. It's about taking my time and enjoying the process of creating rather than getting something done. Like signing the Alphabet song it just isn't the same if you only sing ABC XYZ. All of the letters make up the song as waiting for the paint to dry is part of the process of creating something.

Even though waiting for the paint to dry can be frustrating I have learned that it is necessary. That  some times it is in the waiting that the greatest gifts come. Such as mastering a technique or seeing a new way to approach something because you had to step back.

So next time I find myself waiting for the paint to dry, I think I'll just start a new project in the mean time so I won't get so frustrated... just kidding.

I'll ask myself "Is there something  that I should really be paying attention to?"

Leave a comment and tell me where you been running into "waiting for the paint to dry"

It's awesome you stopped by.....Thanks!!
XOXO
Esther

Wednesday, October 26, 2011

Halloween Decorations

 I just love Halloween, it's such a fun Holiday. It is the gateway or portal is you wish to the three months of festivities that are to follow.  Thanksgiving is wonderful Holiday a week of cleaning and shopping. Prepping and cooking starts the night before, you spending  the whole day eating and feel like a pig when it's all over. Christmas, the most wonderful time of the year as the song goes, has you stressed for 25 plus days buying the perfect gift for everyone. Making time to go to all the parties you have been invited to and let's not mention the party your hosting. And then comes New Years Eve, I'm sure we have all woken up to start the New Year with one mega hang over at some point in our lives.

Halloween is just about the fun.  Sure you might have to buy some candy but that is really all the stress involved. You get to see cute kids all dressed up with the rage of the year. Teenagers that want the candy but don't want to get teased by their peers if they go all out on a costume. And of course the grown-ups that get all into it like me.

As part of my Halloween decoration I decorated the Urns by my front door. As you can see they did need to be spruced up. The Geranium were moved to the garden.

The elements I am using to convert the urns from summer to Halloween is pumpkins, twig garland and black spider web type cloth.


 I left the vines that were already growing in the urns from my Summer plantings. I wrapped the twig garland around the urns. Placed a white pumpkin on top and draped the black spider web on top of it all.


To age it even more I place Spanish moss in the webbing and by the pumpkins. Here a view of how both urns turned out


I just love the way it turned out. So spooky!! It actually looks like they been there forever LOL


It's awesome you stopped by.....Thanks!!!
XOXO
Esther

Sunday, October 23, 2011

Photo Class

I took a  photo class from Outward Bound. It was held in Central Park. I was so excited to see a hidden gem inside of the park, at least to me. I never been to the conservatory in Central Park. It was indeed very beautiful. The teacher was really nice. I felt a little lost because my camera a Nikon Coolpix L100 while not a point and shoot it doesn't have aperture or f-stop setting. She had told me to use the landscape setting and the close up setting for the class. Here are some photos I took.


She talked about setting up the shot that the object doesn't necessarily have to be in the middle of a picture as in this one that she liked.


Because the flower cuts across the picture to the main point of interest, the butterfly. And she liked this one as well for composition.


This photo I took, she had hoped someone would notice the scene and snap the shot.


Notice all the heads popping out of the hedges. Looks kind of funny doesn't it. This is how she said it should be cropped.


This shot I took by the pond.


Her suggestion for more interest.


This one she asked how I set it up and that if was framed really well. I felt to good


Here is what I learned. Take your time when setting up a shot. Like my heads popping out of the hedges would have been better had I taken my time. Don't be timid so ahead and ask people if you can take their picture. I missed a shot of someone whose sense of fashion was spectacular because I was to shy to ask for a pose. Be patience and take tons of photos of the subject of different angles and using the light setting of your camera. It just might take 20 shots to get the one you are after.

It's awesome you stopped by!!....Thanks
XOXO
Esther

Thursday, October 20, 2011

Pumpkin Polenta with Chorizo and Black Beans

On my quest to cook through all my saved recipes I found this one. It sounded soo yummy.


The part that intrigued me the most was the pumpkin polenta. Here is a shot during the cooking.


I cooked the onions a little more than what the recipe calls for waiting for the onions to just turn translucent.

I was right the Pumpkin Polenta, was amazing. I will be doing that part of the recipe again. I did find the Chorizo mix a bit to overwhelming. I would have rathered have had more beans less Chorizo.  But this could be that I used Boars Head brand rather than a Spanish brand. Don't get me wrong I did enjoy the recipe it was quite delicious.

I could also see using the recipe as a  Tapa by letting the Pumpkin Polenta set up. cut it into squares or cut out circles. Frying the polenta nice and crisp. Than using a spoonful of the topping to finish it off. Another thought would be to use the Chorizo topping as an omelet filler.

The recipe is below

It's awesome you stopped by...Thanks!!!
XOXO
Esther

Pumpkin Polenta with Chorizo and Black Beans
November/December 2005
Pumpkin Polenta with Chorizo and Black Beans

By: Rachael Ray
From: 30-Minute Meals »      4 Servings   
Ingredients
  • 1 tablespoon extra-virgin olive oil (EVOO), 1 turn of the pan
  • 3/4 pound chorizo, casings removed (if desired) and meat chopped
  • 1 medium onion, chopped
  • One 14-ounce can black beans, rinsed and drained
  • 2 pimiento peppers or roasted red peppers, chopped
  • 3 cups chicken stock
  • 2 tablespoons unsalted butter
  • One 14-ounce can pumpkin puree
  • 1 cup quick-cooking or instant polenta
  • 1 tablespoon fresh thyme, chopped
  • Salt and freshly ground pepper
  • 1 cup shredded Manchego cheese
  • 1/4 cup chopped flat-leaf parsley (a generous handful)

Directions:

  1. Heat a medium nonstick skillet over medium-high heat. Add the EVOO (1 turn of the pan) and the chorizo. Cook 1 to 2 minutes, then add the onion and cook for another 3 to 4 minutes. Add the black beans and the pimientos and heat through, another 1 to 2 minutes.
  2. In a large saucepan, bring the chicken stock and butter to a boil and stir in the pumpkin. Return to a boil, whisk in the polenta and stir until it masses together, 2 minutes. (Watch out for splatters.) Remove the polenta from the heat and add the thyme, salt, pepper and cheese. Adjust the seasonings. Pile the polenta on plates and top with the chorizo and beans. Garnish with the chopped parsley and serve.

Monday, October 17, 2011

Halloween Card

Every Holiday I try to come up with a new design for cards to send to my friends and family. I made this card for Halloween this year. When I was coming up with this idea for the card  I had stopped by AC Moore, my local arts and crafts store. I found this flocking powder that made the spider look and feel fuzzy.


Looks real doesn't it. Do make this card I used yellow and green card stock, a Halloween stamp set, orange and black ink pad, brown distress ink, white puff fabric paint for the eyes and of course the flocking powder.


I started by cutting my paper to size and using a boning tool to crease the cards. Next I distressed the front of the cards using the distressing ink and the orange ink pad.


I  then took the web stamp and using black ink I stamped the two opposite corners.

Finally I stamped the spider using a black pen draw a line down to the spider. I punched out three circles to stamp the word BOO and distressed them as well using the orange and black ink pads.
I filled in the eyes with the white puffy paint. Waited for it to dry using glue filled in the body of the spider I sprinkled the flocking powder.

I used dimensional stickers on the word BOO to give the depth and my card was done. I wanted to use the work EEK but I didn't have a the proper front type to get the right effect. But I think BOO works here. 

It's awesome you stopped by.... Thanks!!
XOXO
Esther